So since my last post about my laminated cotton experience I have been busy designing and sewing but not much has come out of it! :( I worked FOREVER on trying out a small wrist purse for someone...just enough to put essential in and carry to the gym. Yeah, still workin on that but I'll make it into a tutorial too whenever I get it done.
I also decided to actually sew MYSELF some clothes. Never done that before. Gotta make some alterations due to "big thigh syndrome". Anyone else got that one????
So in between I got an order for a monogrammed taggies blanket with a matching bib. Here is the original one that I made a while ago. Only it was the wrong initial...

First I monogrammed two pieces of fabric.

Then I cut several pieces of that fabric and coordinating fabric in 4 x 4 squares (or whatever size you like). Now on this one I cut before I thought about it - since I had made one before I just went with it. Yeah, well I cut the middle pieces too small so you can see that I had to make a "frame" around it. The original one didn't have that but I didn't want to monogram a whole new piece, so I improvised. Sew 4 squares across both for the top and bottom of the blanket then sew the 2 pieces on each side of the monogrammed piece. You will then have three pieces (top row, middle section and bottom row) to sew together.

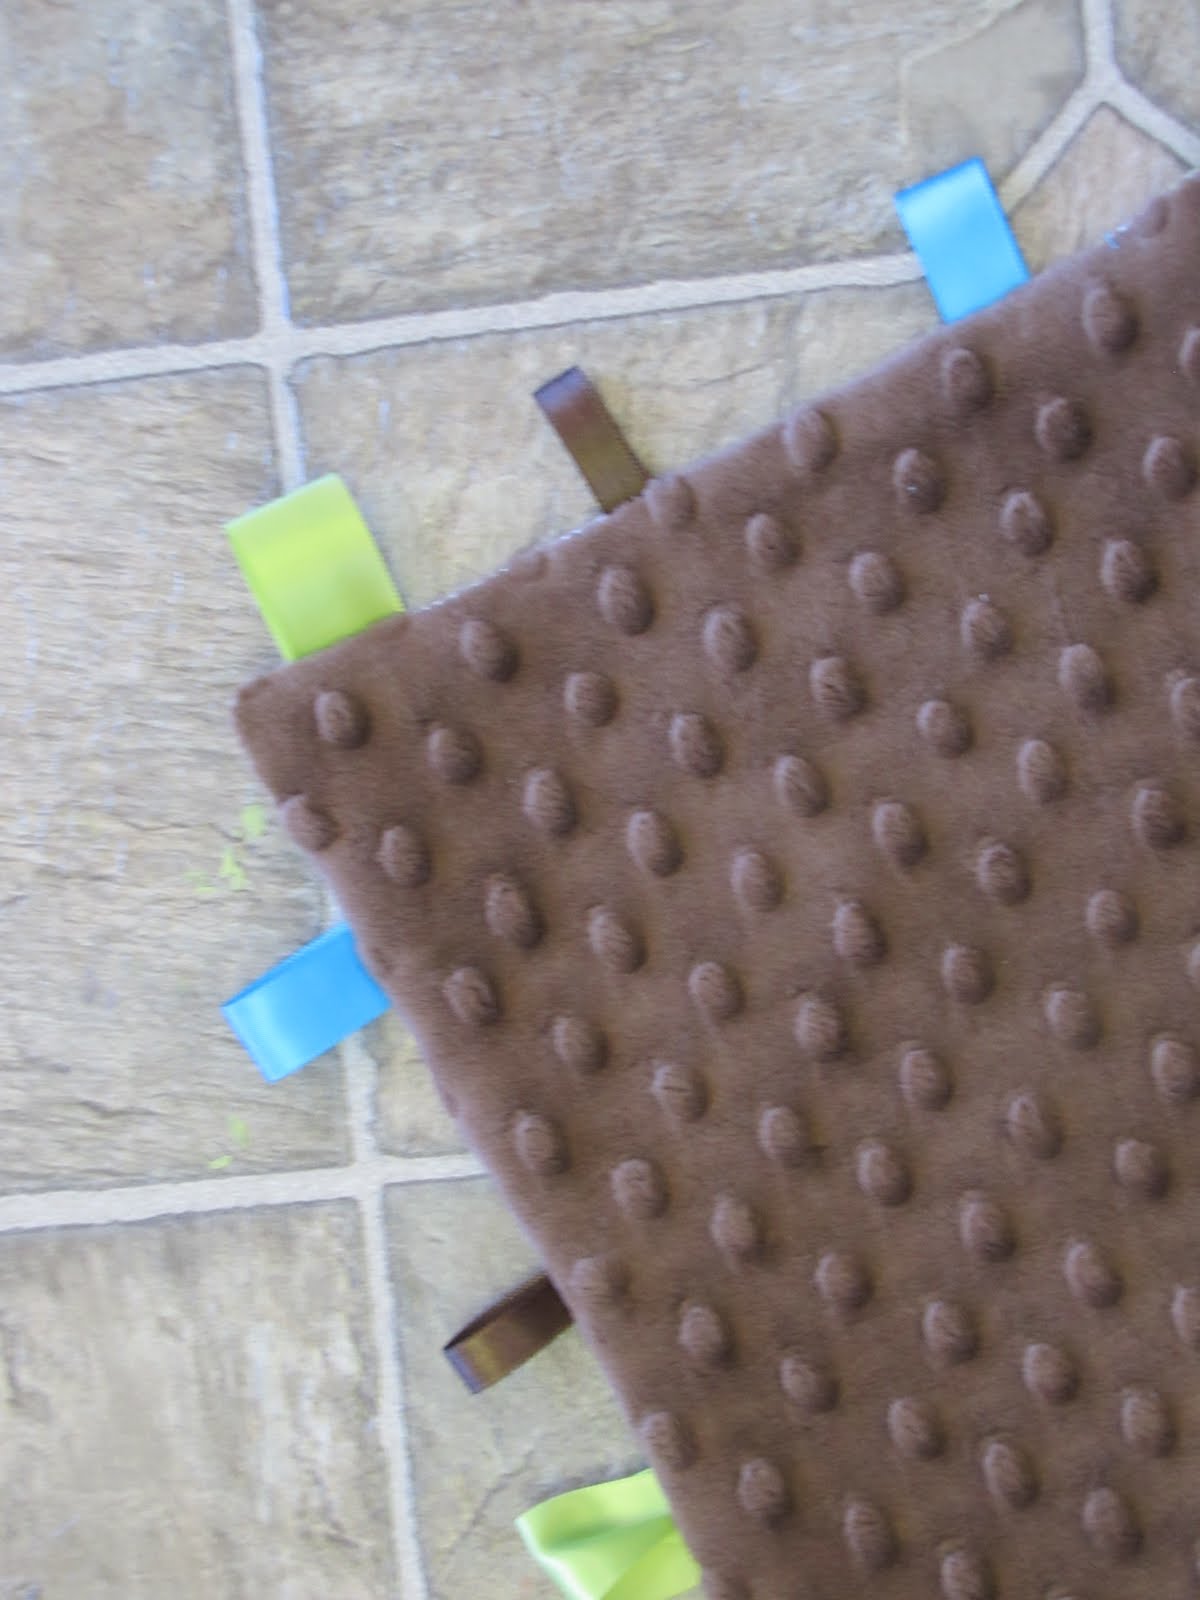
I got three different kinds of matching ribbon and cut 3 inch pieces - again you could cut them any length you'd like. Or even all different lengths to make it more unique. Loop them and match up the raw edges and pin in place. *Sorry for the blurry picture on this one*

I chose a piece of brown minky dot fabric for the back since it's nice and soft! :) I laid the front of the blanket down and cut a square a little bit larger than that. Put right sides together and stitch all the way around making sure to leave an opening large enough to pull the blanket back through. Turn it right side and hand stitch the opening closed - I like to use clear thread so you can't see it.
For the bib I used all of the coordinating fabric but still wanted the patchwork pattern so that it would match the blanket. Sew it the same way as the blanket except it will be more of a rectangle than square.

Take a bib that you have and use it as your pattern


And also cut a piece for the back of your bib. Sew the two pieces together wrong sides together and trim VERY close to your stitches. Use bias tape around the edges ... and ...

You're DONE! Here is the finished product.

Now you can make a set. These are perfect for a baby gift!!
I really hope that I have some more things coming soon. I am working on a purse that is made with regular fabric (well outdoor) and iron on vinyl... we'll see
AND
I'm almost done with my wingback recliner that I re-upholstered. (yeah, this one has been a long time coming).
And I have been reading through tons of blogs and getting some GREAT ideas for furniture! Can't wait to start painting!


Sbb1 Wellness | April 17, 2011 at 7:41 PM
Thanks so much for the tutorial. My niece is due in any day and I would love to make her a bib like this. I look forward to seeing the clothing you will make for yourself too. I'm so happy you've stopped by, it's always a pleasure to meet fellow sewists. You will hear from me often :)
Helene | April 21, 2011 at 1:57 PM
Those are adorable! I was just thinking those would make such a wonderful personalized baby gift for someone! You have some serious talent. I can't even sew a button on a shirt!